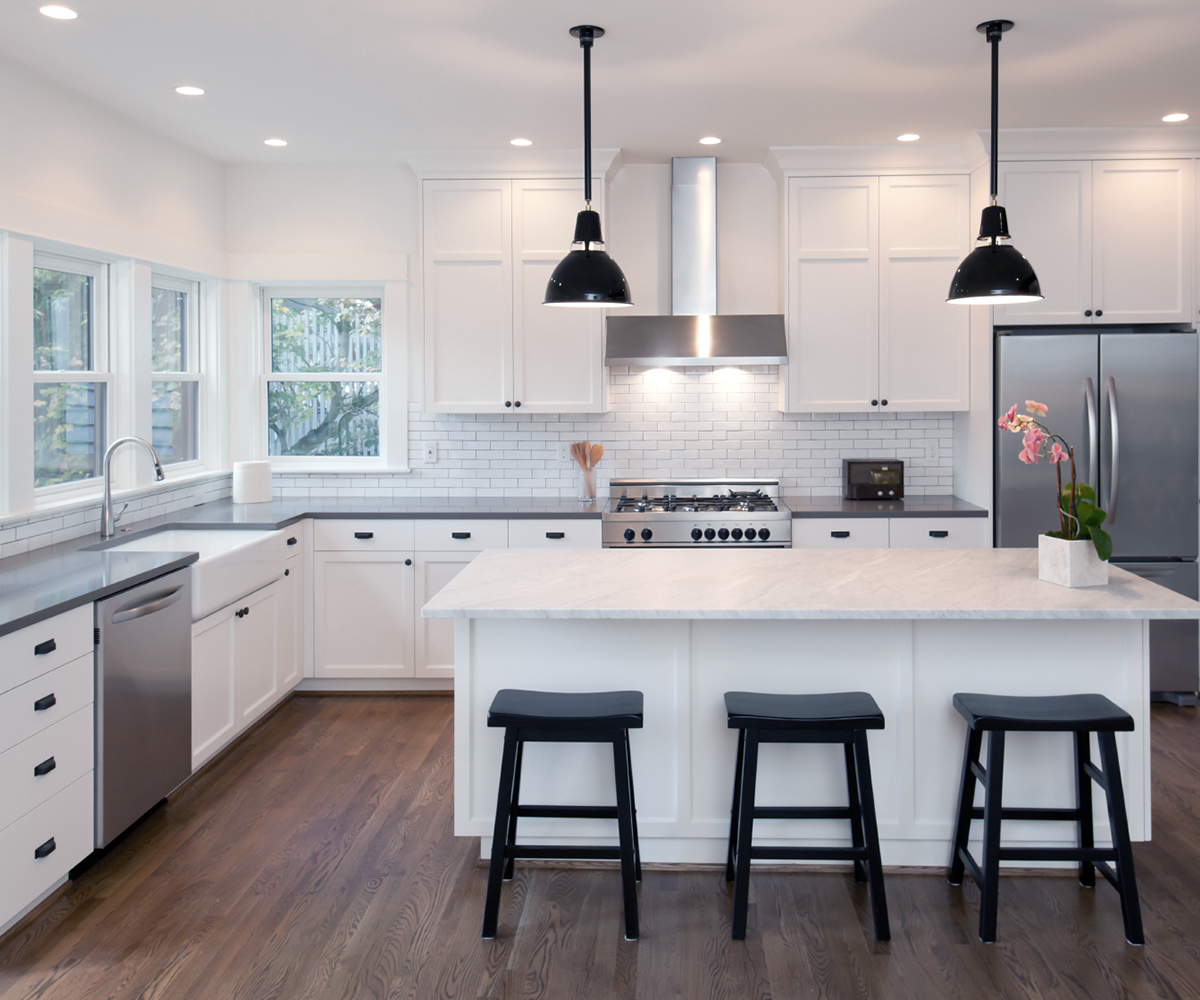
6 Kitchen Island Ideas For Small Spaces
Oh, kitchen islands. We love them so, but if your kitchen is small, having one may seem like an unattainable dream. Not so! With a little ingenuity, you can find a creative solution to fit your needs. Most folks utilize their kitchen islands for three main purposes: storage, counter space, and dining. So, decide what your main needs are, then put on your thinking cap and get inventive! Here are some excellent ideas to get the ball rolling.

#1 – Consider a kitchen cart. These beauties come in countless sizes so even the smallest kitchen can accommodate one. And with a seemingly endless array of styles, you are sure to find one to blend in with your kitchen’s aesthetic. You could even choose one with a bold flair to use as a statement piece. Choose a stainless steel cart from a restaurant supply store for a more industrial feel, or go for a refurbished vintage cart to add a homey touch to a modern farmhouse kitchen. Have fun with this!
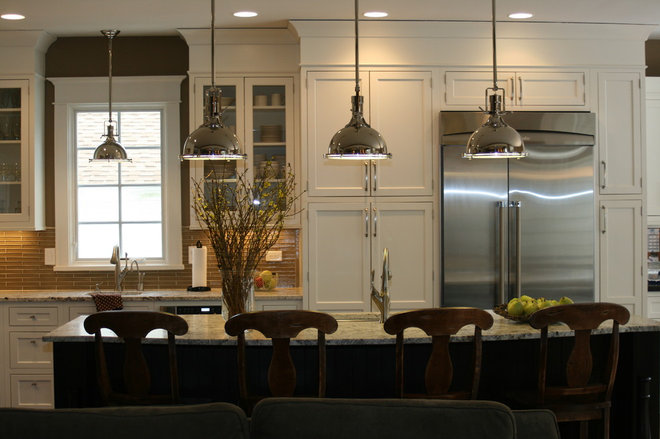
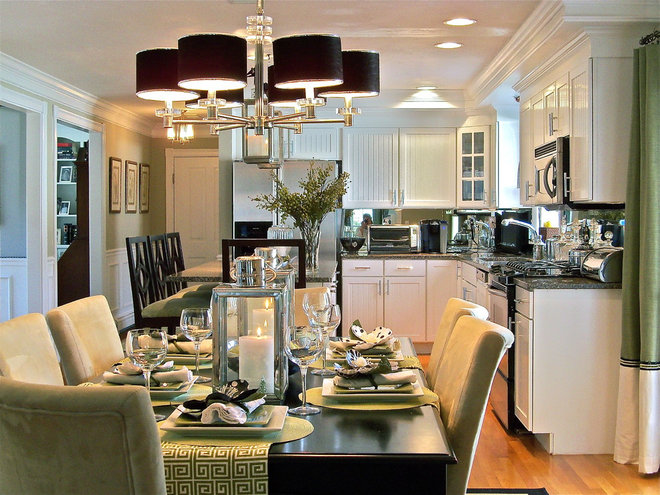
#2 – For narrow kitchens, a console table works great! Often you can find one with a few drawers for storing utensils or towels. If you choose one with a bottom shelf, you can use that space to add storage; think ornate wicker baskets in which you can store your craft supplies or all those attachments for your blender or mixer or pressure cooker or…. you get the idea. If what you really need is a dining spot, find one without that bottom shelf so you can tuck a couple of stools beneath the table. And because this type of island will most likely be stationary, make a statement with some creative lighting, like with a few pendant lights or even a modest chandelier or two.
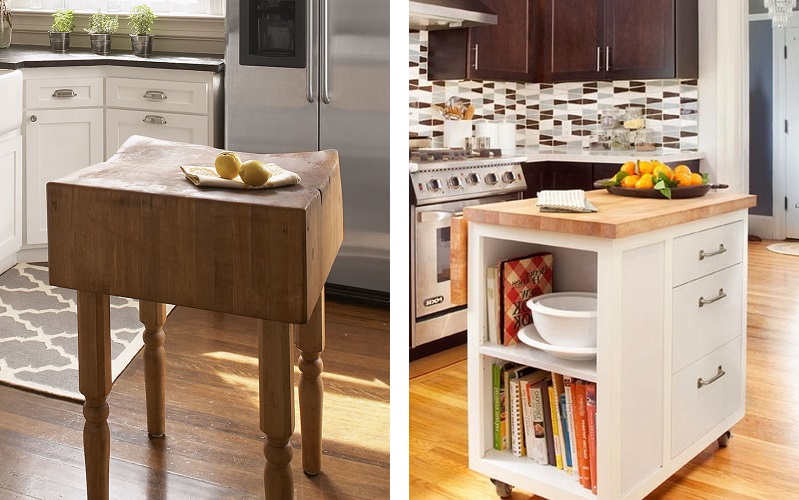
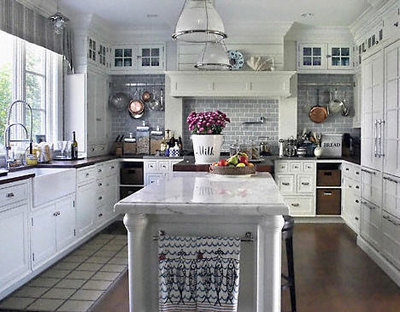
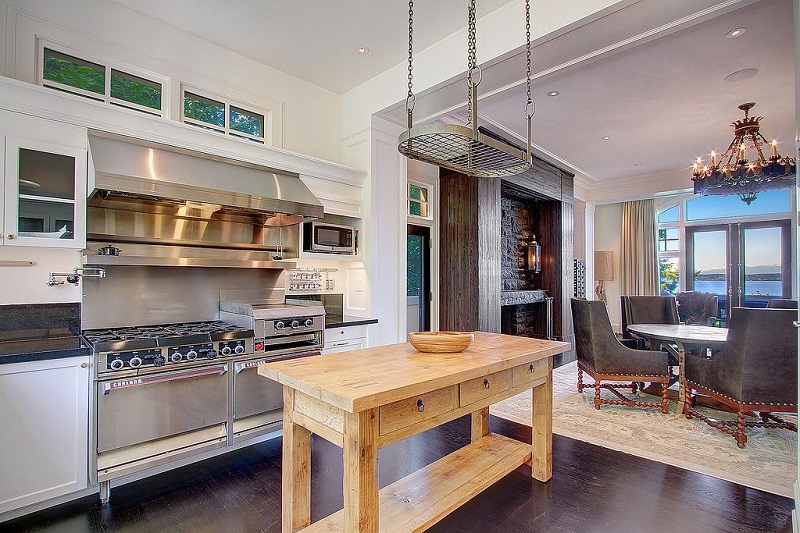
#3 – Have you thought about using a butcher block for your island? They’re compact but incredibly useful for those who opt for home cooked meals over take out. They make food prep a joy and, depending on the size, can double as a casual dining spot. There are a lot of options here, too, so finding one that’s the perfect size shouldn’t be an issue. Extra credit for having a local craftsman fabricate one to be installed on top of your kitchen cart!

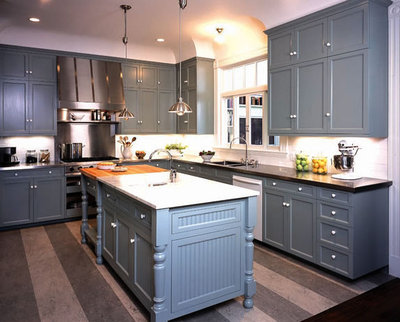
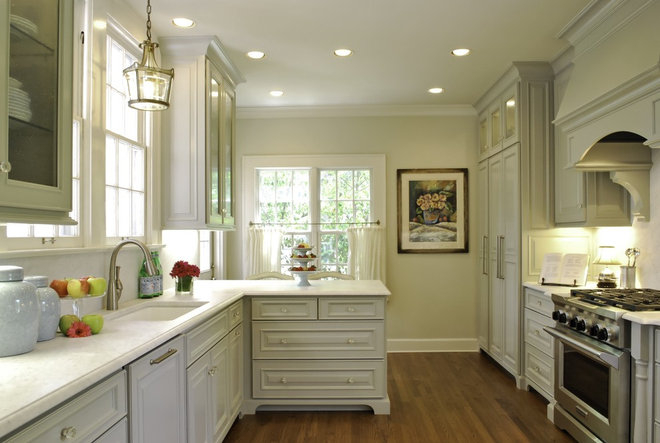
#4 – If storage is your main concern, maximize your island by choosing one with drawers, shelves or cabinets. Use every opportunity to add functionality to all surfaces by adding hooks for kitchen towels, a paper towel bar, or a small spice rack. If your island will be stationary, consider installing a pot rack above. Get the most out of your island by customizing it to suit your needs.
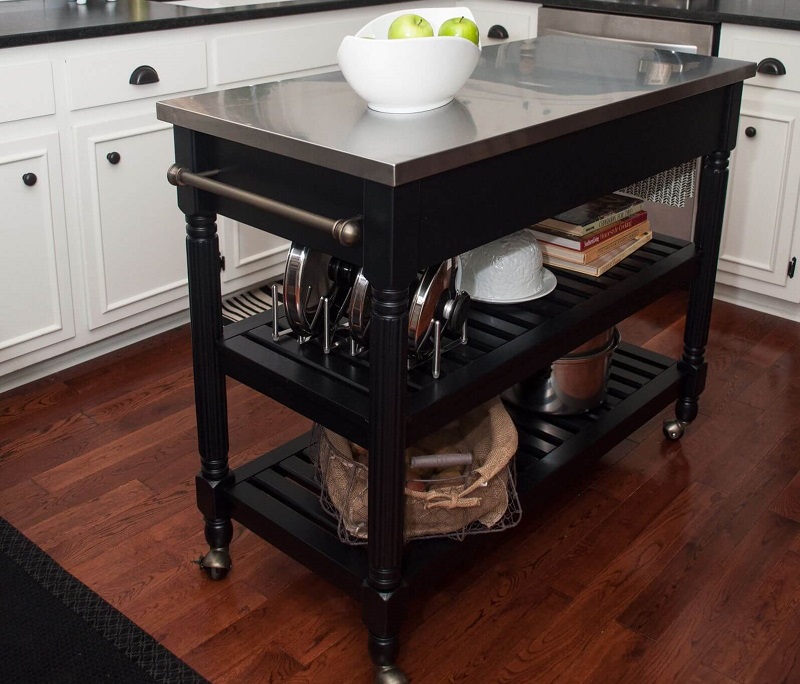
#5 – Opting for an island with wheels means you can reposition it as needed. If it’s small, maybe you can find a place to tuck it when it’s not being used. It also feels pretty luxurious to be able to wheel it over to the rubbish bin to whisk away veggie scraps with no mess. Or you can position it in one spot for food prep and then take it to another for casual dining. If the island that you’re pining for doesn’t have wheels, take a trip to a hardware store, pick up some castor wheels and install them yourself.

#6 – Get creative with placement – they don’t have to be smack in the center of the kitchen! Often times in small spaces, placing the island perpendicular to your cabinets or wall works great. Most folks are concerned about the kitchen work triangle, but as long as the placement of your island doesn’t interrupt your workflow, go for it! Who’s to say that a work “U” wouldn’t work just as smoothly for you.
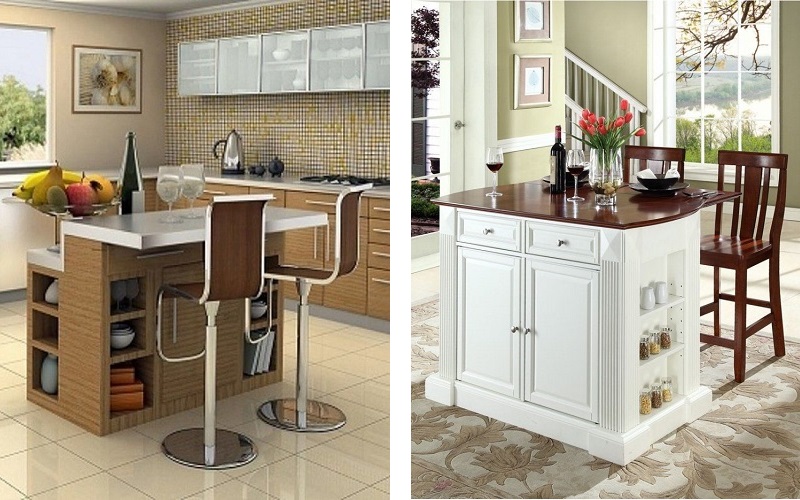
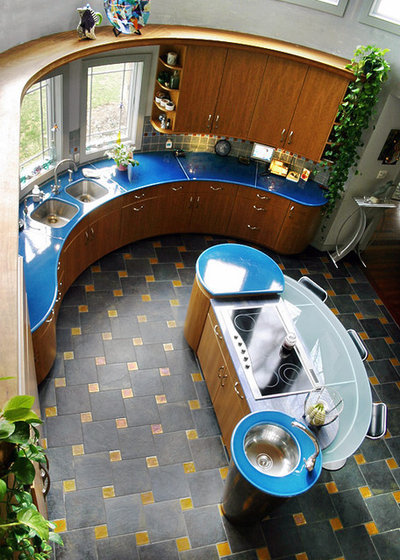
#7 – How about an island that offers areas for food prep, storage, and seating? Go custom! Have your local craftsman build an innovative bi-level island or you could have a custom island built with a drop leaf overhang for seating. Brilliant!
For more information about countertops please give us a call at 920.499.4444
Join us on Facebook and Instagram for more great kitchen design ideas!